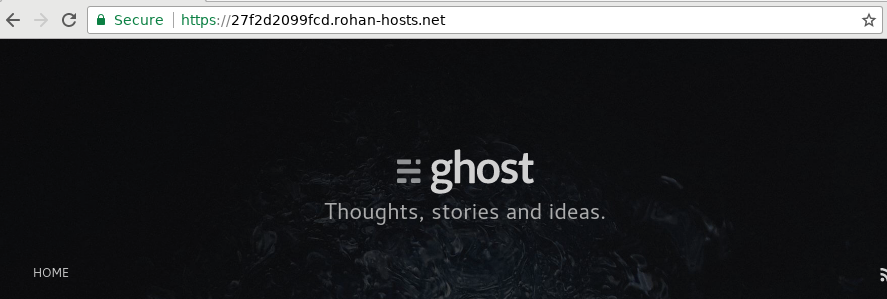
Stunnel is a tool that allows you to seamlessly add TLS to most existing services. Stunnel listens on a port, and can either receive encrypted traffic and pass it to an unencrypted destination, or it can receive unencrypted traffic and forward that to an encrypted destination.
TLS is commonly used to protect clients from connecting to untrusted servers by verifying the certificate provided by the server. Conversely, servers can prevent unwanted clients from connecting by demanding they provide a valid cert. This means that a stunnel can add a strong layer of access control
Table of contents
- Providing HTTPS to an existing web server
- Adding certificate authentication
- Stunnel as a TLS client
- Stunnel client using pinned certificates
- Mutual authentication example
Provide HTTPS to an existing server
/etc/stunnel/stunnel.conf
ciphers       = EECDH+AESGCM:EDH+AESGCM:AES256+EECDH:AES256+EDH
sslVersion    = TLSv1.2
setuid        = nobody
setgid        = nobody

[sslServer]
client        = no
accept        = 443
connect       = insecure.example.com:80
cert          = server.pem
key           = server.key
To listen on port 443, stunnel needs to be launched as root which isn't recommended.

Adding certificate authentication
<id="adding-certificate-authentication">
Stunnel can be used for access control by requiring clients present a certificate issued by a trusted authority in order to connect. The trusted CA is created and managed with easyrsa (see earlier tutorial
This is useful for adding an extra layer of security to things like management interfaces on a router or for providing a secure proxy to reach internal hosts from the outside
/etc/stunnel/stunnel.conf
[authenticatedServer]
client        = no
accept        = 4443
connect       = 127.0.0.1:9090
cert          = server.pem
key           = server.key
requireCert   = yes
CAFile        = /etc/stunnel/clientCA.pem
verifyChain   = yes
Setting up CA
It's recommended but not mandatory you do this on a different machine
git clone https://github.com/OpenVPN/easy-rsa
cd easy-rsa/easyrsa3
# Create PKI
./easyrsa init-pki && ./easyrsa build-ca
# Transfer ca.crt to stunnel server
scp ca.crt root@stunnelServer:/etc/stunnel/clientCA.pem
# Issue client cert and browser bundle
./easyrsa build-client-full testClient
./easyrsa export-p12 testClient
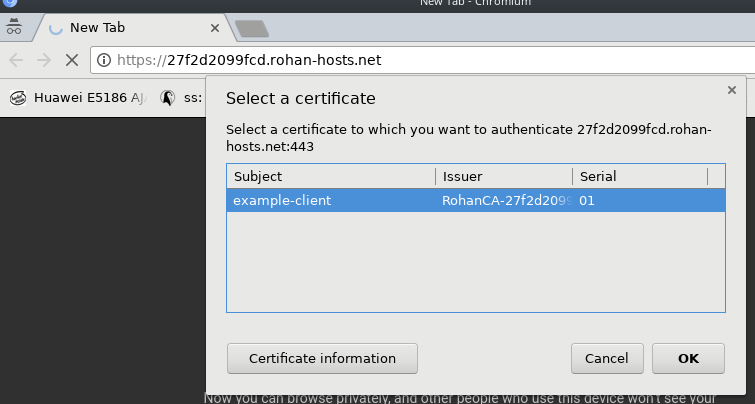
Now import your P12 file (PKCS12 bundle) into your web browser and access your stunnel server. You should be prompted for your certificate.

To be doubly sure it actually requires a cert, try accessing over curl
Stunnel as a TLS client
Stunnel can acts as a TLS client too. This mean that stunnel listens for plain connections and forwards them to a TLS secured server.
In this example, stunnel will establish a secure connection to a DNS-over-TLS server. Stunnel will listen on l
/etc/stunnel/stunnel.conf
[tlsClientWrapper]
client        = yes
accept        = localhost:53
connect       = 1.1.1.1:853
verifyChain   = yes
CAfile        = ca-bundle.crt
checkHost     = cloudflare-dns.com
/etc/resolv.conf
options use-vc
nameserver 127.0.0.1
Stunnel as a client with pinned certificates
Normally we verify the identity of our peer by checking it has a certificate with a matching common name and that certificate issuer is trusted.
Let's forget about CAs and simply check the remote certificate matches our local copy of that certificate.
/etc/stunnel/stunnel.conf
[tlsClientPinned]
client          = yes
accept          = 127.0.0.1:8888
connect         = etherarp.net:443
verifyPeer      = yes
CAfile          = etherarp.net.pem
Downloading certificates from servers
getServerCert() {
echo "" | openssl s_client -connect $1:443 -servername $1 | openssl x509 -out $1.crt
}
Mutual authentication example
We've seen how stunnel server can require clients (such as web browsers) to provide a certificate in-order to connect.
Now we'll see how to configure the stunnel client to provide a certificate; simply use the cert= option to provide a PEM containing the crt+key.
First, some explanation of the below example
- We want to provide a secure channel for connecting to
example.com. - The stunnel server listens on
1.2.3.4:4433and forwards connections to example.com, providing the client authenticates - The 'authenticatedclient' connects to the above, offering its certificate to the server.
- Once the TLS session is established, the client will provide a proxy that listens on
localhost:8080providing access to example.com
[authenticatedServer]
client          = no
accept          = 1.2.3.4:4433
connect         = example.com:80
cert            = server.crt
key             = server.key
requireCert     = yes
CAfile          = clientTrust.crt
verifyChain     = yes


[authenticatedClient]
client          = yes
accept          = localhost:8080
connect         = 1.2.3.4:4433
verifyPeer      = yes
CAfile          = serverCert.crt
cert            = client.crt
key             = client.key